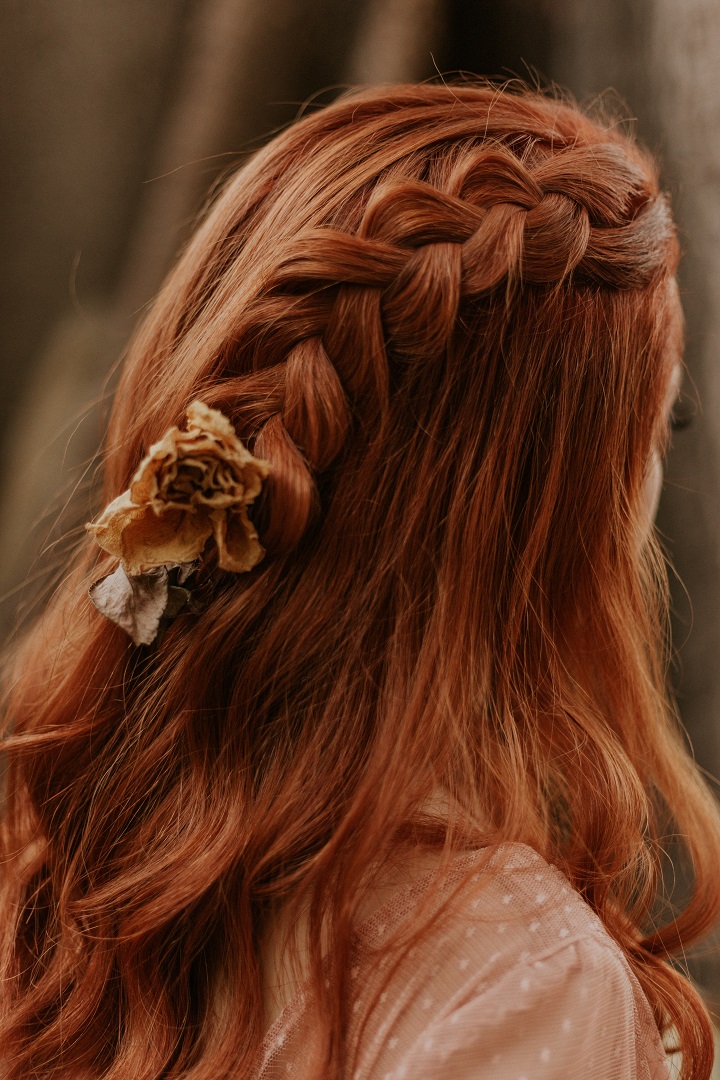
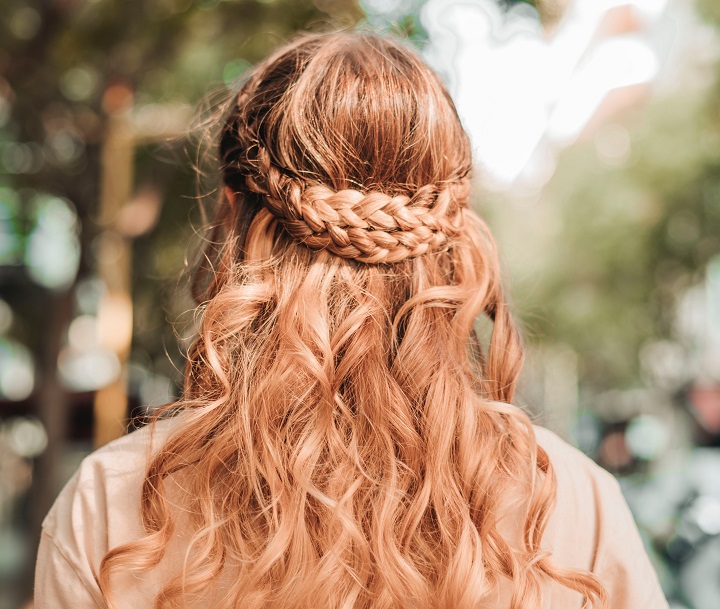
Ready to try something different with your hair?. The stunning Dutch braid tuck is a unique style that will turn heads. You’ll stand out with this chic braid hairstyle, and it’s easy to do but looks totally professional.
Table of Contents
1. What is a Dutch Braid Tuck?
The Dutch braid is an alteration of the French braid. The outer sections cross underneath the middle one, giving the braid an eye-catching “popping out” effect. Ready to try it out for yourself? Here are five different ways to rock the Dutch braid, each one perfect for a different occasion. Check out this review of Anomaly haircare products for tips on getting your hair ready for braiding:
- The basic Dutch braid tuck. Great for daily wear and casual events.
- The half-up Dutch braid is a choice for a more sophisticated occasion like a wedding or prom.
- The Dutch crown braid tuck. It’s best for formal and bridal occasions.
- The regular Dutch braid tuck with a bun. It’s an easy way to switch up your look, and it’s sure to impress.
- Add a creative twist to the classic Dutch braid with the French Dutch braid tuck. It’s a unique style that’s sure to turn heads and get you noticed.
2. How to Achieve the Dutch Braid Tuck
Step 1: Section your hair
Make sure your hair is tangle-free by brushing it thoroughly. This will make the braiding process much easier.
Once your hair is smooth, part it down the middle or to one side, whichever style you prefer. Then, divide your hair into two equal parts, one on either side of your head.
Step 2: Start braiding
For those who already know how to do a regular French braid, learning the Dutch braid is a breeze. The concept is the same, but with an exciting twist – you braid under and up instead of over and down. This creates a gorgeous and unique braid that pops off the top of your head instead of blending in with it.
Step 3: Tie, tuck, and pin
After you reach the end of your head, don’t stop there – keep braiding for a few more turns. Then, tie a loop at the end using a hair tie.
Next, you can gently tuck the end of the braid under itself. Then, crisscross a couple of bobby pins to secure everything in place.
Once those pins are secure, it’s time to add a final touch. Simply grab one or two hairpins and use them to finish off your new, improved braid!
Step 4: Got layers
When it comes to layered hairstyles, no one is immune to a stray strand or two! It’s more common if you have straight or straightened hair, but don’t worry, help is at hand.
To fix those flyaways, simply grab a bobby pin and secure the misplaced layer for a hassle-free look.
Step 5: Secure the look
Repeat the same process with the left braid by crossing it over to the right side of your head, tucking it under the right braid, and securing it with a bobby pin. Keep securing it until you’re happy with how the tuck looks and it feels secure.

3. Common Mistakes to Avoid
The braid tuck is a favorite go-to hairdo, perfect for anything from casual outings to formal events. Despite being relatively easy to create, making this style look polished can be tricky.
Here’s what to avoid so your braid tuck looks flawless every single time.
a. No prep work
Great hair starts with clean, dry hair. And if you have curly hair, straighten it out first to make it easier to handle.
Before styling, give your hair a thorough brush – no matter the length – to avoid any pesky knots or tangles that can ruin a perfect look. This will not only make the process smoother but will also prevent any hair breakage.
b. Braiding too tightly
While creating the braid tuck, it’s important not to braid too tightly. Overly tight braids can cause discomfort and even hair damage. When braiding, gently pull the sections but firmly to avoid hurting your scalp.
Achieving a natural, effortless look is easier than you might think. After finishing your braid, don’t forget this simple step: loosen it just slightly.
c. Not using bobby pins.
To ensure your braid stays put, don’t forget to use enough bobby pins at the end. If you skimp, your hairstyle may end up falling apart!
Pro tip: Spray your bobby hair pins with some hairspray to keep them from slipping out of place.
No practice
The final mistake people commonly make when creating Dutch or French braids is not practicing enough. This hairstyle takes some practice to get right, so don’t be discouraged if it doesn’t look perfect the first time.
Once you practice, the more confident you will be with the process, and the better your hairstyle will look.
4. Conclusion
Regular or Double Dutch braids are a hot hairstyle trend that can be achieved in minutes with just a few styling products.
To get that perfect, effortless, messy look, gently pull on sections of the braid to create a relaxed, carefree style. Now it’s time to strut your stuff in front of the mirror and admire your new long hair or short hair!

